How to Build Basic Projects Using React Hooks | A Step-by-step Guide
Damilola Adedoyin Ezekiel
23 Nov 2021
•
9 min read

Building projects are a good way to solidify your knowledge about something. When you watch tutorials and do not practice what you learn, this could lead to tutorial hell. Tutorial hell is when you're learning something and you feel you're making some good progress each time you watch a tutorial but when you start doing that thing yourself, you realize that you don't know much about it.
In this article, I will be providing a step-by-step guide on how to build some basic projects using React Hooks. Some of the Projects we will be building include :
- Image Preview
- Markdown Editor
- Lorem Ipsum generator
- Weather App
At the end of this tutorial, you will be able to work with React hooks and also have projects to add to your portfolio.
Prerequisite
- Knowledge of React is required to follow along.
- Knowledge of CSS for styling.
- A code editor (vs code, Sublime, Atom)
Getting Started
Project 1: Image Preview.
Description: The Image preview project is a basic react project that allows you to upload and preview images using FileReader. FileReader is used to read the content of files. It is also built into the browser, meaning you do not have to install it as a dependency.
Step 1: Import React and useState and also declare a useState variable
import React, { useState } from "react";

const App = () => {
  const [file, setFile] = useState({});
  const [imagePreview, setImagePreview] = useState("");
Step 2: Create the JSX outline and then pass the values from our useState. Setting input type=" file " defines a file-select field and a "Browse" button for file uploads. The onChange props in the input element will handle any occurrences that happen.
 return (
    <div className="img-container">
      <input type="file" onChange={handleUpload} />
      <img src={imagePreview} alt="" className="img" />
      {imagePreview ? (
        <span>
          <p>Type:{file.type}</p>
          <p>Name: {file.name}</p>
          <p>Size: {file.size}</p>
        </span>
      ) : (
        "Upload Image"
      )}
    </div>
  );
};
Step 3: The handleUpload function handles the upload process. First, we assign a variable reader to FileReader, we also create another variable file that targets the first element in our computer. Then we update the two states that we've declared above. Finally, reader will read the content of the file we're uploading using the readAsDataURL.
const handleUpload = (e) => {
    let reader = new FileReader();
    let file = e.target.files[0];
    reader.onload = () => {
      setFile(file);
      setImagePreview(reader.result);
    };
    if (file) {
      reader.readAsDataURL(file);
    }
  };
See it live here
You can also check out MDN docs to know more about FileReader and its methods.
Project 2: Markdown Editor
Markdown is a lightweight markup language for creating formatted text using a plain-text editor. We will be using an npm package called ReactMarkdown.
Step 1: Install ReactMarkdown as a dependency and import it into your file
npm install react-markdown
Step 2: Create a variable and assign it to useState, we then return the basic UI which contains two main divs. The textarea is where we type in our markdown and we set its value to the markdown in useState and we also add an onChange props that update the value of the markdown state. The ReactMarkdown dependency we installed will be used as a component and we will also wrap it around the markdown state. This converts the raw markdown in the text area to formatted text.
const App = () => {
  const [markdown, setMarkdown] = useState("## markdown editor");
  return (
    <div className="body">
      <h2>Markdown Editor</h2>
      <div className="main">
        <div>
          <textarea
            value={markdown}
            onChange={(e) => setMarkdown(e.target.value)}
          ></textarea>
        </div>
        <div className="result">
          <ReactMarkdown>{markdown}</ReactMarkdown>
        </div>
      </div>
    </div>
  );
};

export default App;
Step 3: The ReactMarkdown does not come with styling, so you will have to style each element to suit what you want. Below is the CSS styling I used.
* {
  padding: 0;
  margin: 0;
}
.body {
  background-color:# ddd6e4;
  height: auto;
  font-family: Nunito;
}
h2 {
  text-align: center;
  font-family: Nunito;
  font-size: 10rem;
}
.main {
  display: flex;
  justify-content: space-evenly;
  height: auto;
  padding: 2rem 0;
  margin: 0px auto;
}
textarea {
  width: 30rem;
  height: 40rem;
  padding: 20px 0 0 20px;
  border-radius: 10px;
}
.result {
  width: 50rem;
  height: 40rem;
  padding: 20px 0 0 20px;
  border-radius: 10px;
  border: 2px solid grey;
}
ul {
  list-style-type: none;
}
a {
  text-decoration: none;
}
h1,
h2,
h3,
h4 {
  text-transform: capitalize;
  line-height: 1.25;
  margin-bottom: 0.75rem;
}
h1 {
  font-size: 2.5rem;
}
h2 {
  font-size: 2rem;
}
h3 {
  font-size: 1.25rem;
}
h4 {
  font-size: 0.875rem;
}
p {
  margin-bottom: 1.25rem;
}
img {
  width: 200px;
  height: 200px;
  object-fit: cover;
}
blockquote {
  font-size: 2rem;
  font-style: italic;
  border-left: 5px solid rgb(136, 132, 132);
  color: rgb(136, 132, 132);
  padding-left: 2rem;
  line-height: 2;
  margin-bottom: 1.5rem;
}
blockquote ::first-letter {
  text-transform: uppercase;
}
pre {
  background:# 222;
  display: inline-block;
  padding: 1rem 2rem;
  color: yellow;
  margin-bottom: 1.5rem;
}
@media screen and (max-width: 800px) {
  .body {
    background-color:# ddd6e4;
    height: 100vh;
  }
  .main {
    display: flex;
    flex-direction: column;
    align-items: center;
    /* height: 100vh; */
    padding: 2rem 0;
    margin: 0px auto;
  }
  textarea {
    width: 20rem;
    height: auto;
    padding: 20px 0 0 20px;
    border-radius: 10px;
    margin: 3rem 0;
  }
  .result {
    width: 20rem;
    height: auto;
    padding: 20px 0 0 20px;
    border-radius: 10px;
    border: 2px solid grey;
  }
  h1 {
    font-size: 2rem;
  }
  h2 {
    font-size: 1.75rem;
  }
  h3 {
    font-size: 1.5rem;
  }
  h4 {
    font-size: 1rem;
  }
  body {
    font-size: 1rem;
  }
  h1,
  h2,
  h3,
  h4 {
    line-height: 1;
  }
}
After this step, the end result should look like the image below.
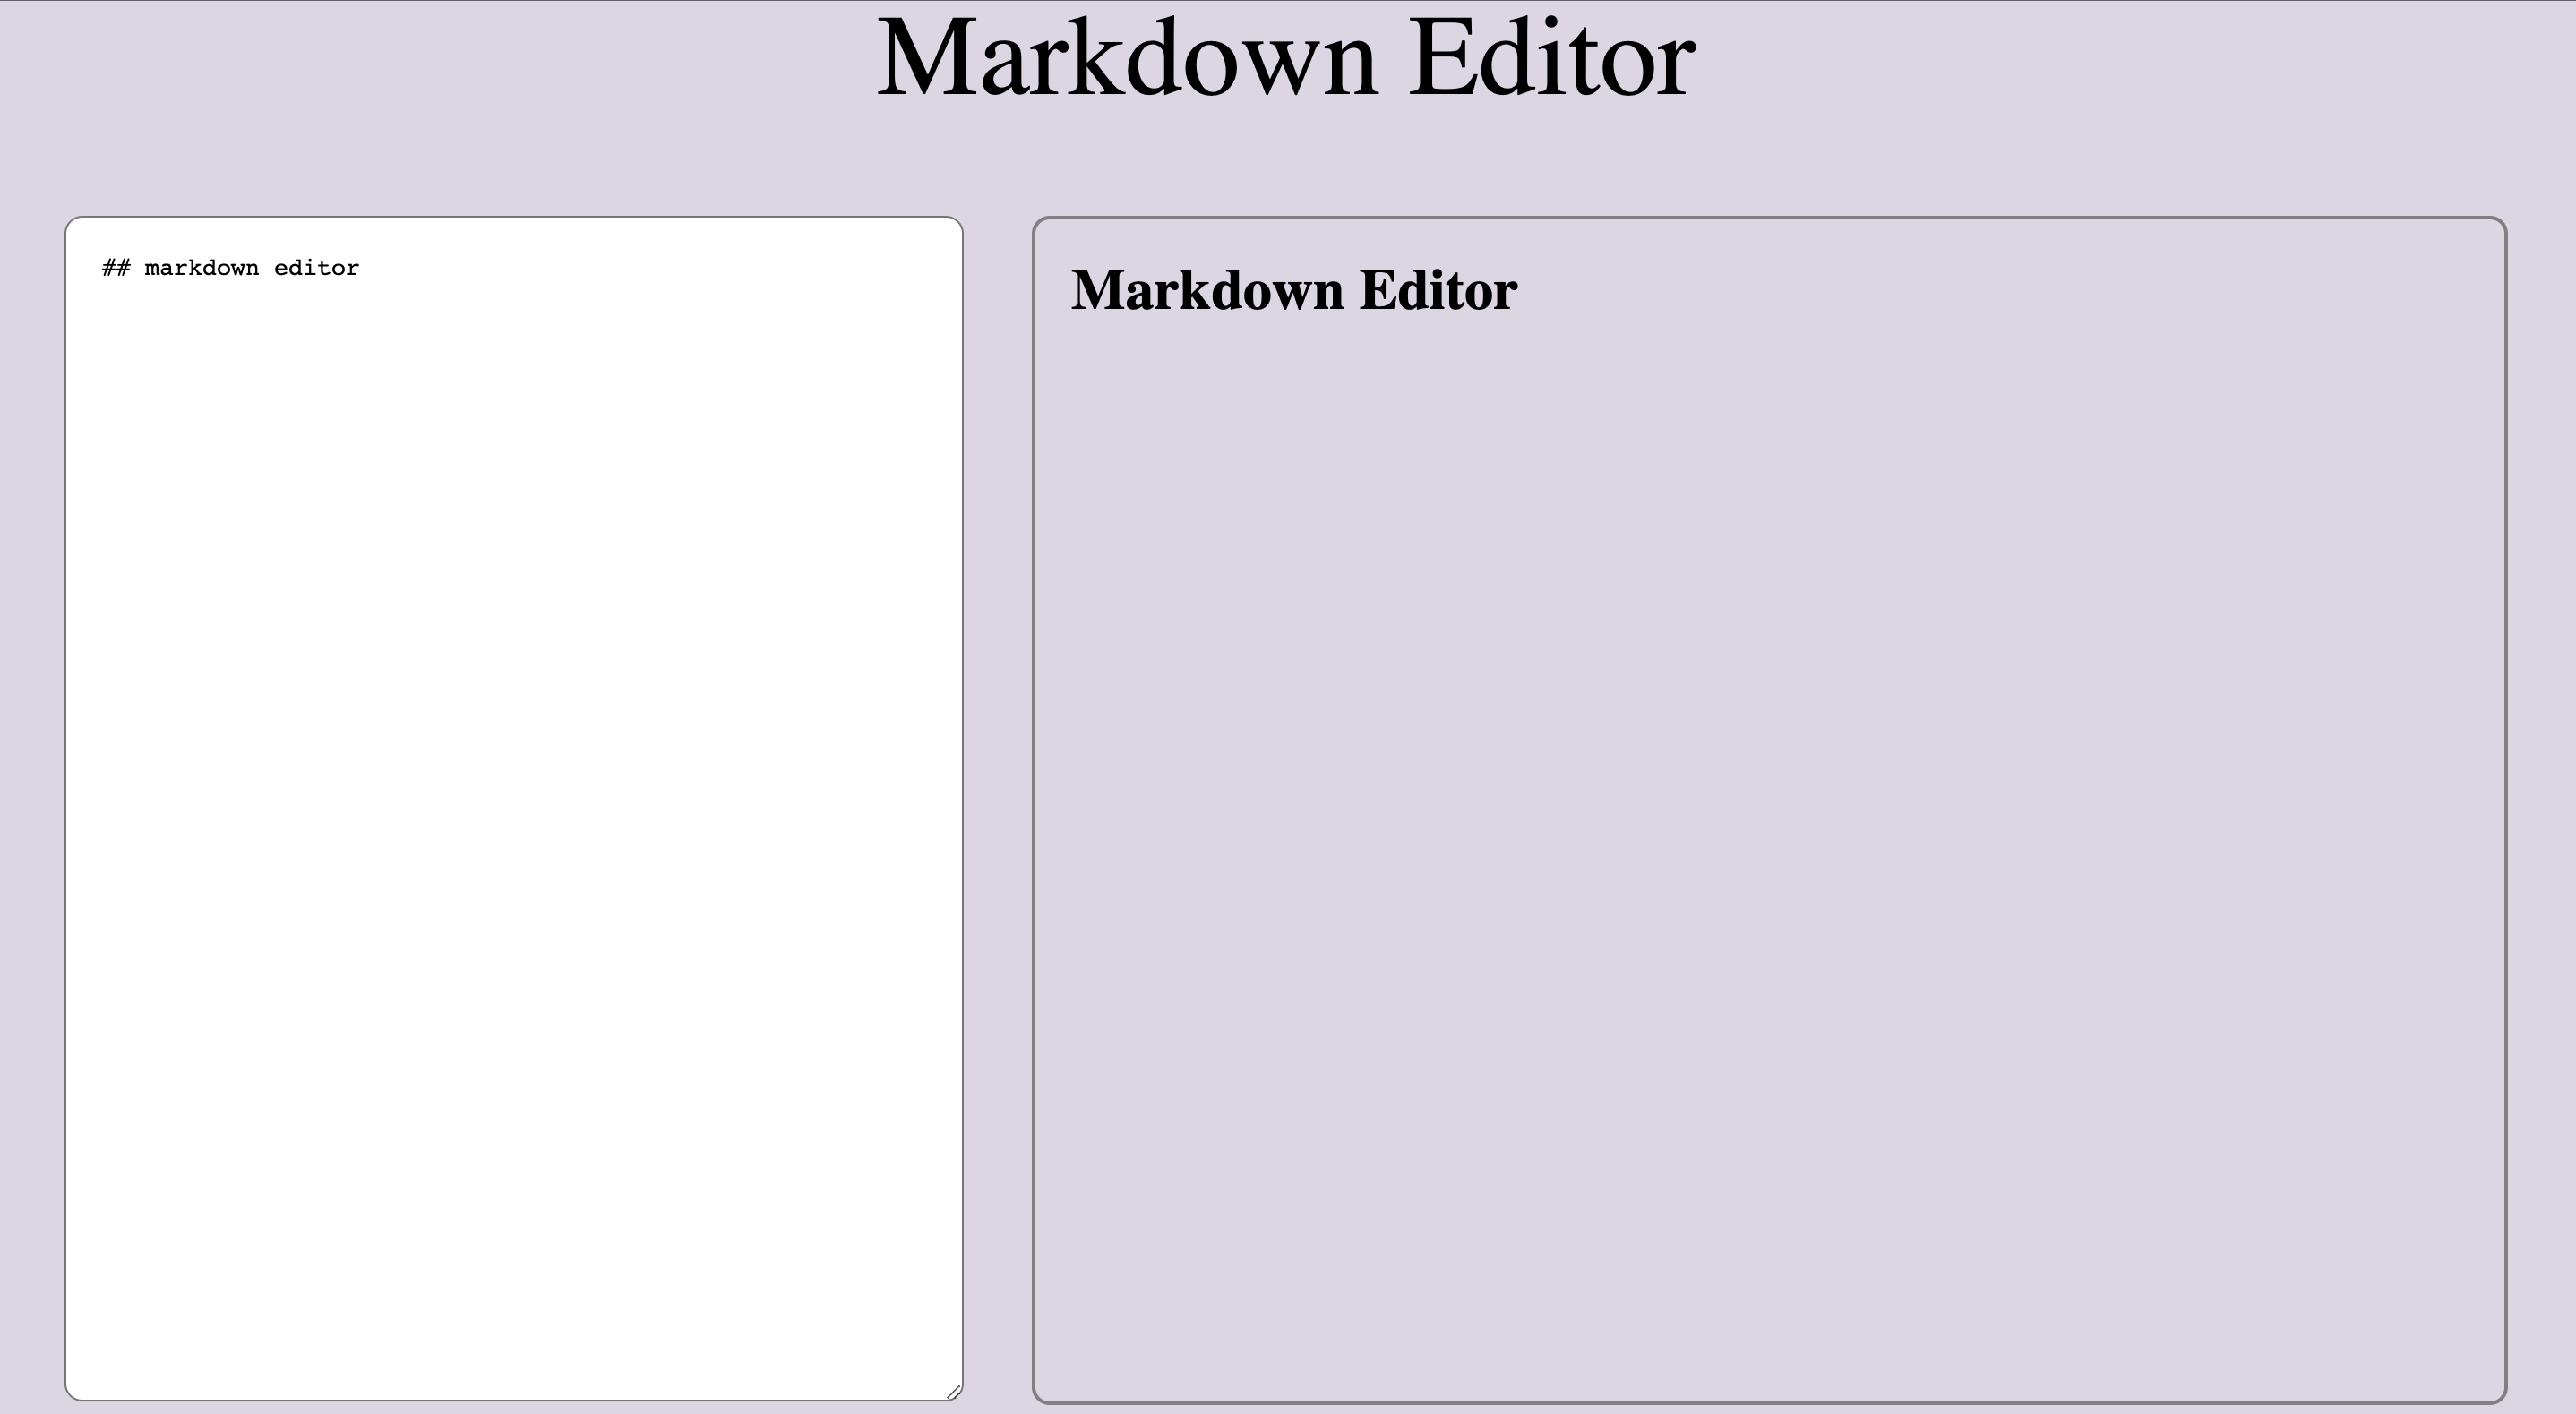
See it live here.
In case you are not very familiar with markdown, you can check out this cheatsheet.
Project 3: Lorem Ipsum generator
Description: Lorem ipsum is a type of text that shows the visual form of a document without relying on predefined content. It can be used as a placeholder before the final copy is available. For this project, we will be building a lorem ipsum generator that generates up to 10 paragraphs of dummy text.
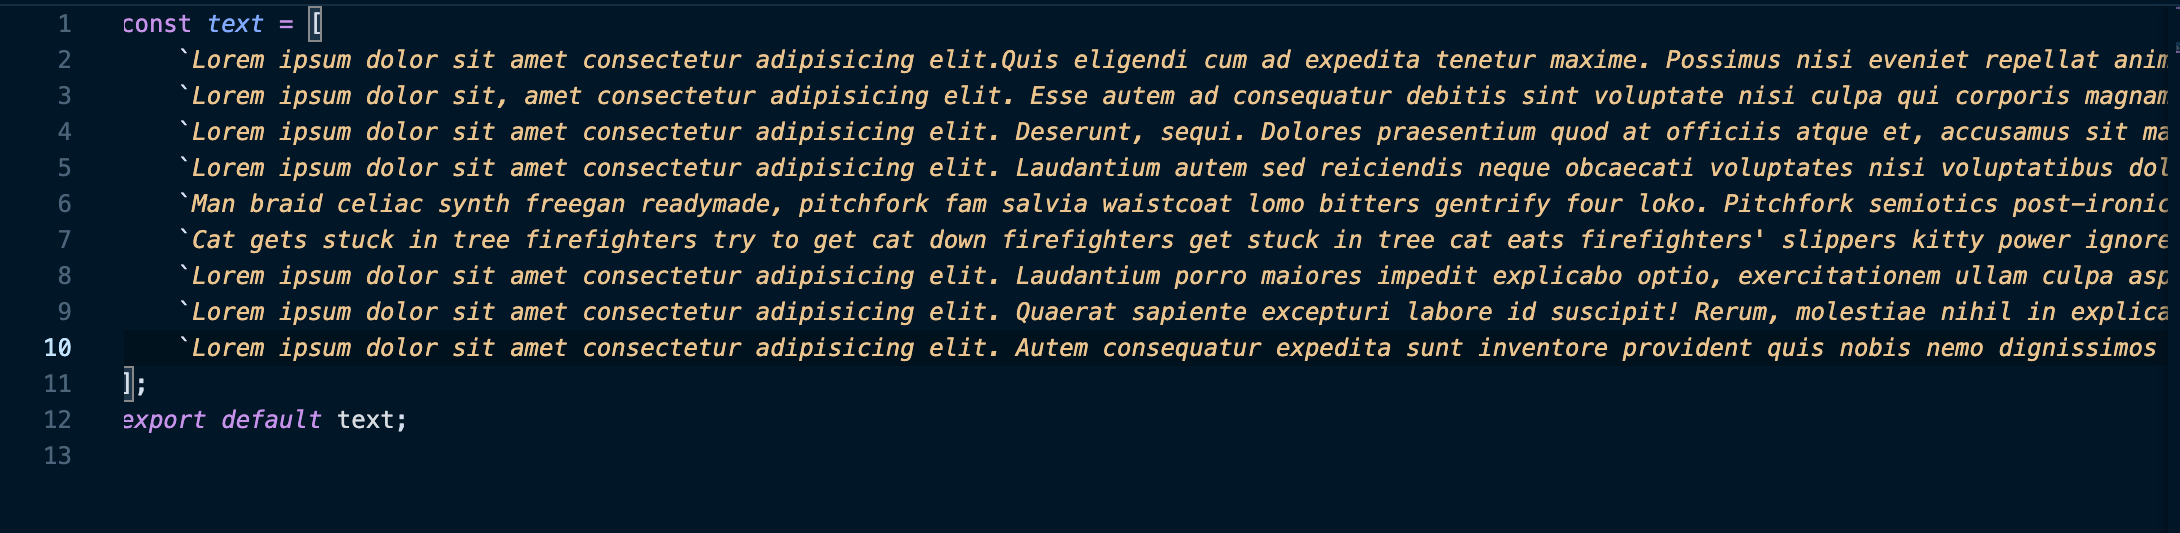
Step 1: In your src folder, create a new file and name it data.js. In data.js declare an array that contains strings with dummy text. You can either choose to use dummy text or an API.
Your array should look like the content in the image below.
Step 2: In your App.js, import React, useState, and the content from data.js. Then you will create a function and in that function, you will declare two variables and assign them to useState.
import React, { useState } from "react";
import data from "./data";
import "./styles.css";

export default function App() {
  const [text, setText] = useState([]);
  const [count, setCount] = useState(0);
Next, you will return a div that contains an input element and a button, and this input element is what will be used to select the paragraphs of dummy text. The input takes three main properties:
type=" number": this is an HTML attribute that allows the user to enter only numbers.value={count}: the value will be equal to the count variable that was declared initially.onChange={(e)=>setCount(e.target.value)}: the onChange property takes in thesetCountsetter function and it updates the value ofcountwhenever there is a change.
A container that will contain the output of the dummy text will also be returned from the same parent div but it would be blank for now.
export default function App() {
  const [text, setText] = useState([]);
  const [count, setCount] = useState(0);
  return (
    <div className="App">
      <input
        type="number"
        value={count}
        onChange={(e) => setCount(e.target.value)}
      />
      <button>Generate</button>
      <div className="text-output">
            //leave this blank for now
      </div>
    </div>
  );
}
Step 3: Create an handleSubmit function and this handles the process of generating the dummy text.
First, you create a variable called amount and assign it parseInt(count). amount determines the number of paragraphs that will be outputted while parseInt is a javascript function that parses a string and turns it into an integer.
Next, we declare a conditional statement that checks for the number of paragraphs in data.js.
Finally, you will update the content in data. js with setText by using the slice method. Slice is an array method that returns a shallow copy of an array that has been selected from start to end.
const handleSubmit = () => {
        let amount = parseInt(count);
        if (count <= 0) amount = 1;

        if (count > 8) amount = 8;

        setText(data.slice(0, amount));
    };
Step 4 : In the empty output container, you will map through text and then return the output. Lastly, you will also assign the handleSubmit function to the button we created using the onClick property.
The entire code should look like the code sample below.
  const App =()=> {
    const [text, setText] = useState([]);
    const [count, setCount] = useState(0);
    const handleSubmit = () => {
        let amount = parseInt(count);
        if (count <= 0) amount = 1;

        if (count > 8) amount = 8;

        setText(data.slice(0, amount));
    };
    return (
        <div className="App">
            <input type="number" value={count} onChange={(e) => setCount(e.target.value)} />
            <button type="submit" onClick={handleSubmit}>
                Generate
            </button>
            <div className="text-output">
                {text.map((item, index) => (
                    <p key={index}>{item}</p>
                ))}
            </div>
        </div>
    );
}
export default App;
After basic styling, the final output should look like the image below.
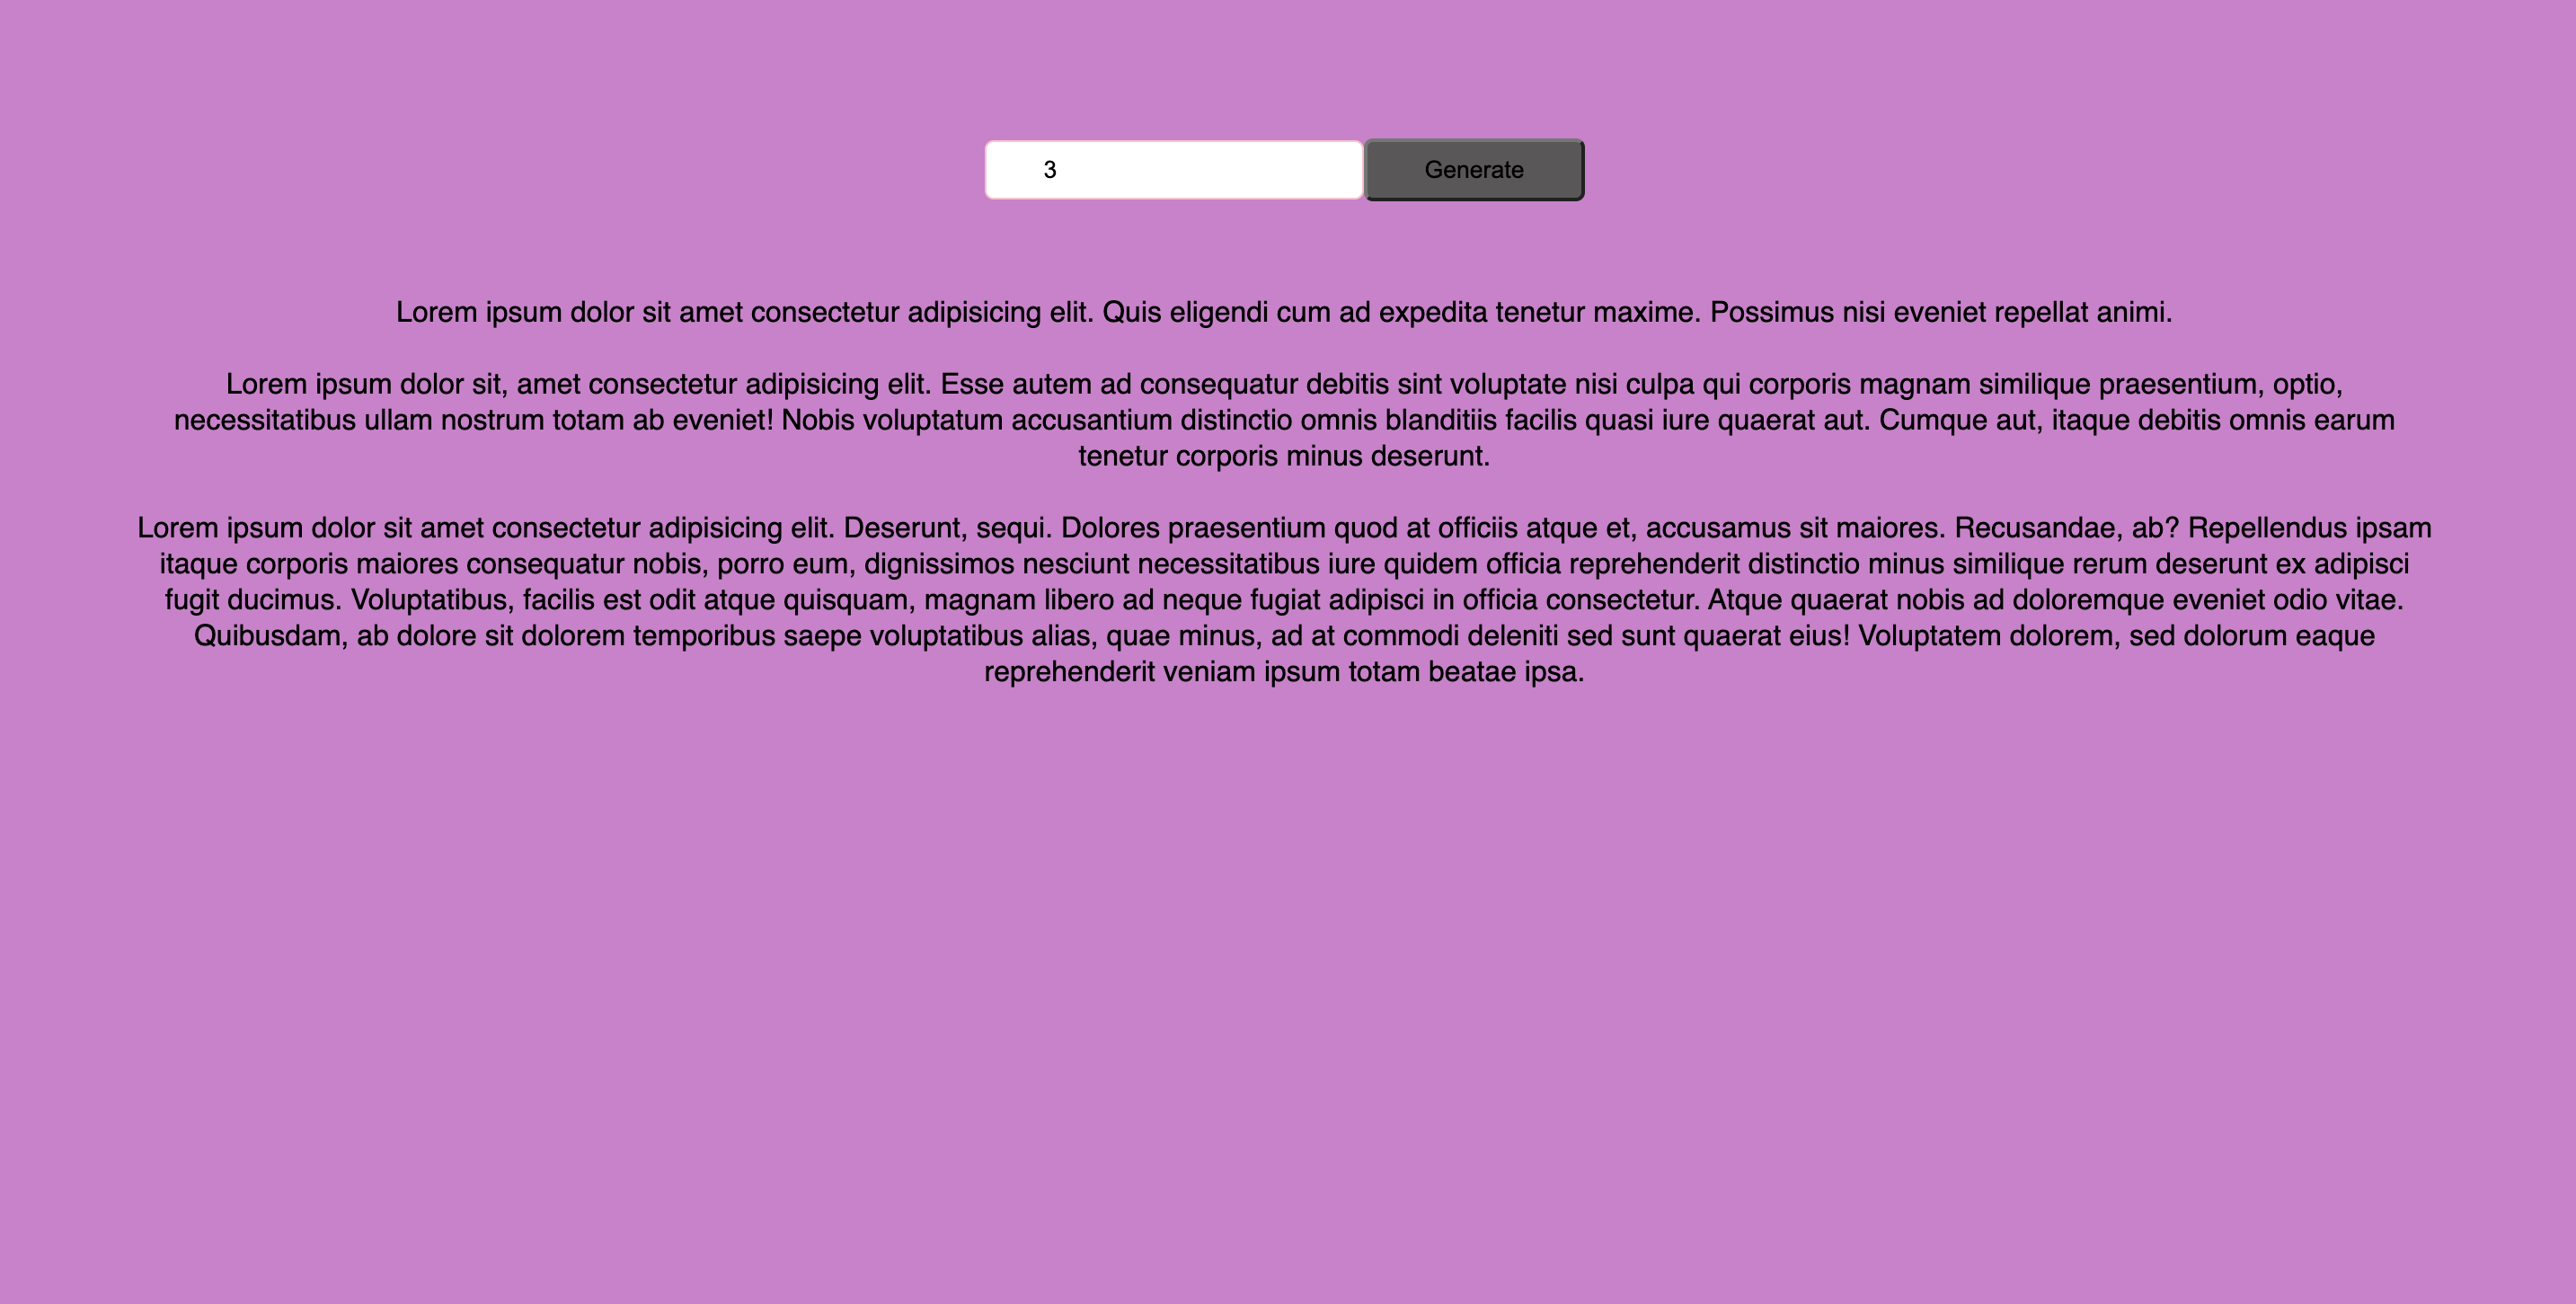
See it live here
Project 4: Weather App
The weather app is a project that forecasts the weather situation in every part of the world. We will be using the Open weather API in this project.
Visit Openweather's website, sign up, and then navigate to the part where you get the API keys and link to API call, the API key will also be sent to your email address as soon as you complete the sign-up process The API call takes in two queries: the city name and the API key.
api.openweathermap.org/data/2.5/weather?q={city name}&appid={API key}
Step 1: Import React and useState, declare a variable to hold your API keys, and then declare two variables and assign them to useState. We would also return an input element and this is where we type the locations into. Ensure you are using the correct API key.
import React, { useState } from "react";
import "./styles.css";
import "@fontsource/nunito";
const apiKey = "6e8e9e8a6b81898eae0219daf41270f3";

export default function App() {
  const [city, setCity] = useState("");
  const [weather, setWeather] = useState({});
return (
    <div className="App">
      <input
        type="text"
        value={city}
        placeholder="enter city..."
        onChange={(e) => setCity(e.target.value)}
        required
      />
   )
}
Step 2: Declare another function inside the main function and this is where we would call the API. On event enter, we would call the API and also pass the appropriate queries to it. Recall that the API takes two main queries which are the city name and we would pass the city variable declared initially to it and all the pass the API key. We would update weather by passing the result gotten from the API call to setWeather.
Finally, we would setCity will be initialized back to an empty string and this empties the content of the input element after searching for a location.
const getWeather = async (e) => {
    if (e.key === "Enter") {
      const response = await fetch(
        `https://api.openweathermap.org/data/2.5/weather?q=${city}&units=imperial&APPID=${apiKey}`
      );
      const data = await response.json();
      setWeather(data);
      setCity("");
    }
  };
Step 3: The API has a list of properties that contains objects and we want to check if typeof weather. main is undefined, if it is, we want to return a text that says "enter a location" else we want to return a div that has three elements. We want to return the city name and country, the temperature of the location, and also the weather situation of that location.
Lastly, we would pass an onKeyPress property to the input element and assign the getWeather function to it as a value
return (
<div className="App">
<input
type="text"
value={city}
placeholder="enter city..."
onChange={(e) => setCity(e.target.value)}
onKeyPress={getWeather}
required
/>
{typeof weather.main === "undefined" ? (
<p>Enter a Location...</p>
) : (
<div>
<h3>
{weather.name},{weather.sys.country}
</h3>
<p className="temp">{Math.round(weather.main.temp)}°C</p>
<p className="weather">{weather.weather[0].main}</p>
</div>
)}
</div>
);
The final output should look like the image below.

You can make use of the styles below to achieve the exact thing implemented in the App and you can also customize the style to suit your preference.
body {
  background-color: rgb(73, 73, 197);
  font-family: Nunito;
  padding-top: 2rem;
}

.App {
  font-family: sans-serif;
  text-align: center;
  background-image: url(./img.jpeg);
  height: 100vh;
  background-repeat: repeat;
  background-size: cover;
  border-radius: 10px;
  width: 50%;
  margin: 0 auto;
  color:# fff;
}

input {
  width: 40%;
  padding: 1rem 2rem;
  border-radius: 10px;
  outline: none;
  border: none;
  margin-top: 2rem;
}
.temp {
  font-size: 50px;
}
@media screen and (max-width: 1024px) {
  .App {
    font-family: sans-serif;
    text-align: center;
    background-image: url(./img.jpeg);
    height: 90vh;
    background-repeat: no-repeat;
    background-size: cover;
    width: 80%;
    margin: 0 auto;
  }
}
Click here to see it live.
Here's the link to the repository that contains the full code for all these projects.
Conclusion
The only way to master any programming language or framework is by using it to build things. I hope this helps you on your journey to becoming a 10X developer. You can make a pull request to the repository if you have any changes to make or additional projects.
Thank You 😁

WorksHub
Jobs
Locations
Articles
Ground Floor, Verse Building, 18 Brunswick Place, London, N1 6DZ
108 E 16th Street, New York, NY 10003
Subscribe to our newsletter
Join over 111,000 others and get access to exclusive content, job opportunities and more!